You sprayed a smooth coat of paint, only to watch bubbles appear a few minutes later. If you’re wondering why is my spray paint bubbling, the problem usually comes down to poor surface preparation, trapped moisture, incompatible paint layers, or spraying under the wrong conditions. The good news is that most bubbling issues can be fixed, and they’re often easy to prevent on your next project.
Whether you’re painting metal furniture, plastic, wood, or automotive parts, understanding what causes bubbles is the first step toward getting a smooth, durable finish.
What Does Bubbling Spray Paint Mean?
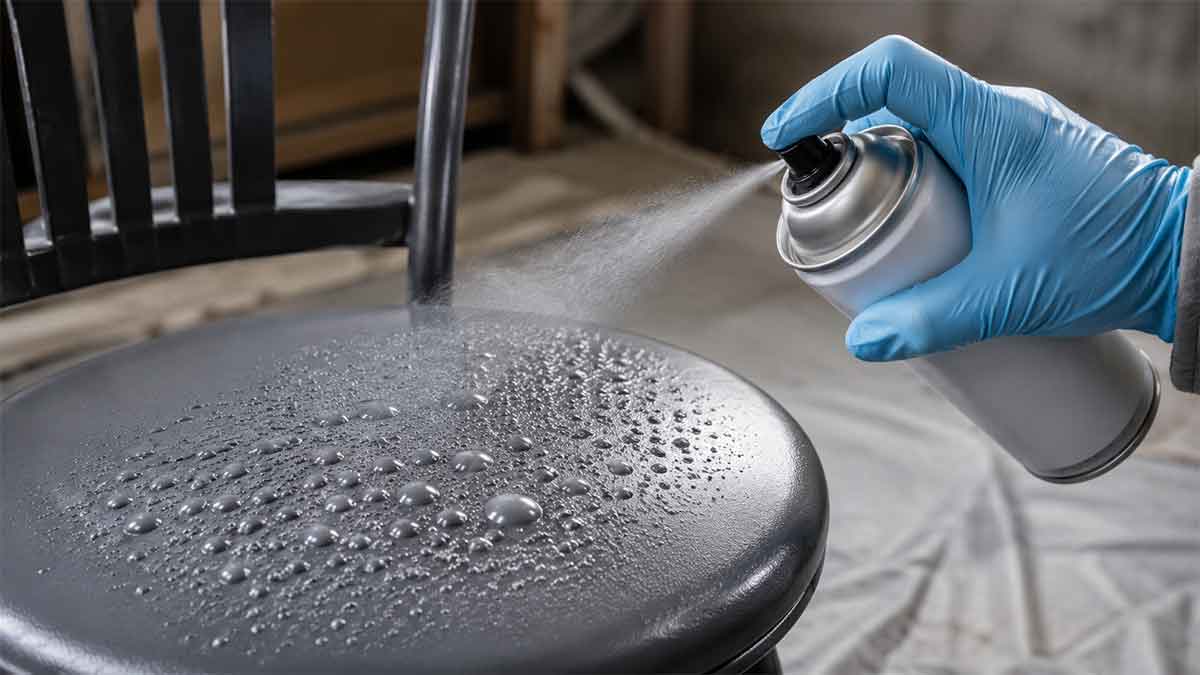
Spray paint bubbling happens when raised pockets or blisters form in the paint film. These bubbles may appear while the paint is still wet, shortly after it dries, or even hours later.
The bubbles form because something underneath or within the paint prevents it from bonding evenly to the surface. Sometimes air or moisture becomes trapped. In other cases, the paint dries too quickly on the surface while the layer underneath remains soft.
The exact cause depends on the material you’re painting, the products you’re using, and the environment.
Why Is My Spray Paint Bubbling?
Several issues can cause spray paint to bubble. Identifying the right one makes fixing the problem much easier.
The Surface Was Dirty
One of the most common causes is painting over grease, oil, wax, silicone residue, or dust.
Spray paint needs direct contact with the surface to adhere properly. Even fingerprints can reduce adhesion on smooth materials like metal and plastic.
Cleaning the surface thoroughly before painting gives the paint a much better chance of bonding correctly.
Moisture Was Trapped
Moisture is another frequent culprit.
If the surface is damp from cleaning, condensation, humidity, or recent rain, the water can become trapped beneath the paint. As the paint dries, the trapped moisture creates pressure that forms bubbles.
This is especially common when painting outdoor furniture or metal surfaces during humid weather.
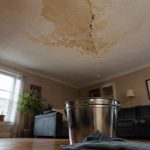
Moisture trapped beneath the surface is a common cause of bubbling. If the underlying material has been exposed to water damage, it’s best to address the leak before repainting. Read our guide on what to do if the ceiling is leaking.
The Previous Paint Wasn’t Compatible
Not every paint works well over another coating.
Applying a strong solvent-based spray paint over a delicate or partially cured finish may soften the old layer. As the lower layer reacts, the surface can wrinkle, blister, or bubble.
Whenever you’re unsure whether two coatings are compatible, testing on a small hidden area is a safer approach.
You Applied the Paint Too Thick
Heavy coats often look faster, but they create problems.
A thick layer causes the outer surface to dry before the paint underneath can release solvents. As those solvents try to escape, bubbles may appear.
Multiple thin coats almost always produce a smoother finish than one heavy application.
The Surface Was Too Hot
Direct sunlight or a hot surface can cause spray paint to flash dry.
When the top layer hardens almost instantly, trapped solvents underneath cannot escape evenly. This pressure may create bubbling or blistering.
Painting in moderate temperatures usually produces better results.
The Spray Can Was Too Close
Holding the can too close floods the surface with excessive paint.
Besides causing runs and drips, too much wet paint increases the chance of trapped solvents and uneven drying.
Following the recommended spraying distance helps create an even coat.
The Primer Wasn’t Fully Dry
Primer provides an excellent foundation, but only after it cures properly.
If you spray the topcoat too soon, the primer may still be releasing moisture or solvents. This can interfere with the new layer and create bubbles.
Always follow the drying and recoating instructions on the product label.
The Surface Needed Sanding
Very smooth surfaces often need light sanding before painting.
Without enough surface texture, spray paint may struggle to grip properly. While poor adhesion alone doesn’t always create bubbles, it can contribute to lifting and blistering later.
A light scuff with fine-grit sandpaper often improves adhesion significantly.
Never sand older ceiling materials until you know what they’re made of. If your home has older ceiling tiles, read what to do if you have asbestos ceiling tiles before starting any surface preparation.
Why Does Spray Paint Bubble on Different Materials?
Different materials create different challenges.
Metal
Metal commonly develops bubbles because of oil, rust, moisture, or surface contamination.
Outdoor metal can also develop condensation that’s difficult to see with the naked eye.
Cleaning with an appropriate degreaser and allowing the surface to dry completely reduces the risk.
Wood
Wood naturally absorbs moisture.
Painting damp wood or wood exposed to changing humidity can lead to bubbling as moisture tries to escape through the paint film.
Sanding and allowing the wood to dry thoroughly before painting helps produce better results.
Plastic
Many plastics contain mold-release agents left over from manufacturing.
Without proper cleaning or a suitable plastic primer, spray paint may struggle to adhere evenly.
Some plastics also require paints specifically designed for plastic surfaces.
Previously Painted Surfaces
Old paint may contain loose sections, peeling areas, or incompatible coatings.
Painting directly over damaged paint often transfers the existing problems into the new finish.
Removing loose paint and creating a stable surface is usually the better long-term solution.
Can High Humidity Cause Spray Paint Bubbling?
Yes, humidity can contribute to bubbling.
High moisture levels slow the evaporation of solvents and may introduce condensation onto the surface.
While some spray paints tolerate moderate humidity, very damp conditions increase the chance of finish defects.
Whenever possible, paint on a dry day with moderate temperatures and good airflow.
Can Cold Weather Cause Bubbling?
Cold temperatures affect drying differently.
Paint becomes thicker, dries more slowly, and may not level properly.
Although cold weather more commonly causes poor adhesion or uneven texture than bubbling, temperature fluctuations combined with moisture can still contribute to blistering.
Always check the temperature range recommended by the paint manufacturer.
How to Fix Bubbled Spray Paint
The best repair depends on how severe the bubbling is.
If the bubbles are small and the paint is still wet, stopping immediately is often the smartest choice. Let the paint dry completely before attempting any repairs.
For dried bubbling, follow these steps:
- Allow the paint to cure fully.
- Sand the bubbled areas until smooth.
- Remove all sanding dust.
- Clean the surface thoroughly.
- Apply thin, even coats of paint.
- Let each coat dry according to the instructions.
If bubbling extends beneath several layers of paint, removing the damaged coating completely may be necessary before repainting.
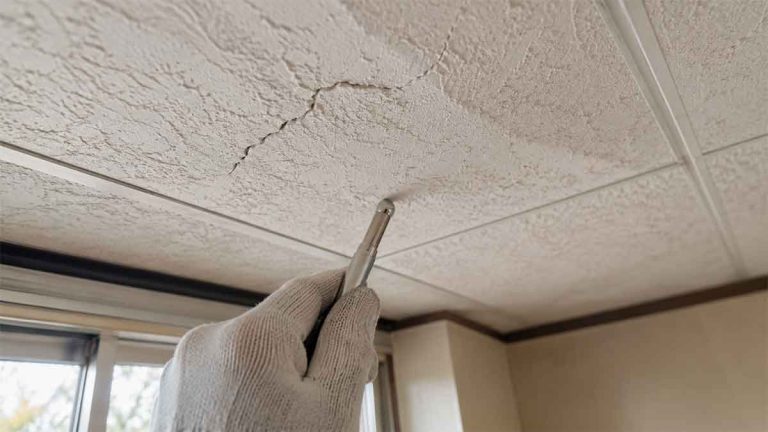
Before applying spray paint, inspect the surface for cracks or structural damage. Learn more about why there is a crack in your ceiling if you’re repairing interior surfaces.
Should You Paint Over Bubbles?
Usually, no.
Painting over bubbles rarely hides the problem because the raised areas remain unstable.
The fresh coat may temporarily improve the appearance, but the defect often returns as the paint continues curing.
Taking the time to sand and repair the damaged area produces a more durable finish.
How to Prevent Spray Paint Bubbling
Preventing bubbling is much easier than fixing it.
A few simple habits make a noticeable difference:
- Clean every surface thoroughly.
- Remove grease, wax, dust, and loose paint.
- Allow cleaned surfaces to dry completely.
- Apply several light coats instead of one heavy coat.
- Follow the recommended spray distance.
- Paint within the manufacturer’s suggested temperature range.
- Avoid painting in direct sunlight when surfaces are extremely hot.
- Allow primer and previous coats to dry before recoating.
- Shake the spray can thoroughly before use.
These steps help improve adhesion while reducing common paint defects.
Does the Type of Spray Paint Matter?
Yes.
Different spray paints are formulated for different materials.
For example, products intended for metal may not bond well to certain plastics without a compatible primer.
Likewise, high-temperature paints, automotive paints, and general-purpose spray paints often have different drying characteristics.
Using products designed for the surface you’re painting improves both appearance and durability.
Is Bubbling the Same as Wrinkling?
Not exactly.
Although the two problems are related, they’re different defects.
Bubbling creates raised pockets beneath the paint surface.
Wrinkling creates visible folds or ripples where the paint shrinks unevenly during drying.
Both can result from applying coats too heavily or recoating before the previous layer has dried, but they don’t always have the same underlying cause.
Can You Sand Bubbling Away?
Yes, if the damage is limited.
After the paint has fully cured, sanding can remove minor bubbles and create a smooth surface for repainting.
However, if the bubbling originated deep beneath multiple paint layers, sanding alone may not eliminate the root problem.
In that case, stripping the affected coating may be necessary before starting over.
Frequently Asked Questions
This often happens because the paint was applied too heavily, the surface was contaminated, or the material was too hot. Trapped solvents can also create bubbles while the paint is still wet.
Late-appearing bubbles usually point to trapped moisture, poor adhesion, or a reaction between incompatible paint layers.
High humidity can interfere with proper drying and increase the chance of bubbling, blushing, or other finish defects, especially if moisture collects on the surface.
Not always. Small localized bubbles can often be sanded smooth and repainted. Widespread bubbling may require removing the damaged coating before refinishing.
Yes. Light sanding improves adhesion on many surfaces by creating a slightly rough texture that allows the paint to grip more effectively.
Final Thoughts on Why Is My Spray Paint Bubbling
Understanding why is my spray paint bubbling helps you solve the problem instead of simply covering it up. In most cases, bubbling happens because the surface wasn’t properly prepared, moisture became trapped, the coats were applied too heavily, or environmental conditions weren’t ideal.
A clean, dry surface, thin coats, and enough drying time between applications go a long way toward preventing bubbles. If bubbling does occur, repairing the damaged area properly before repainting will usually produce a smoother, longer-lasting finish.