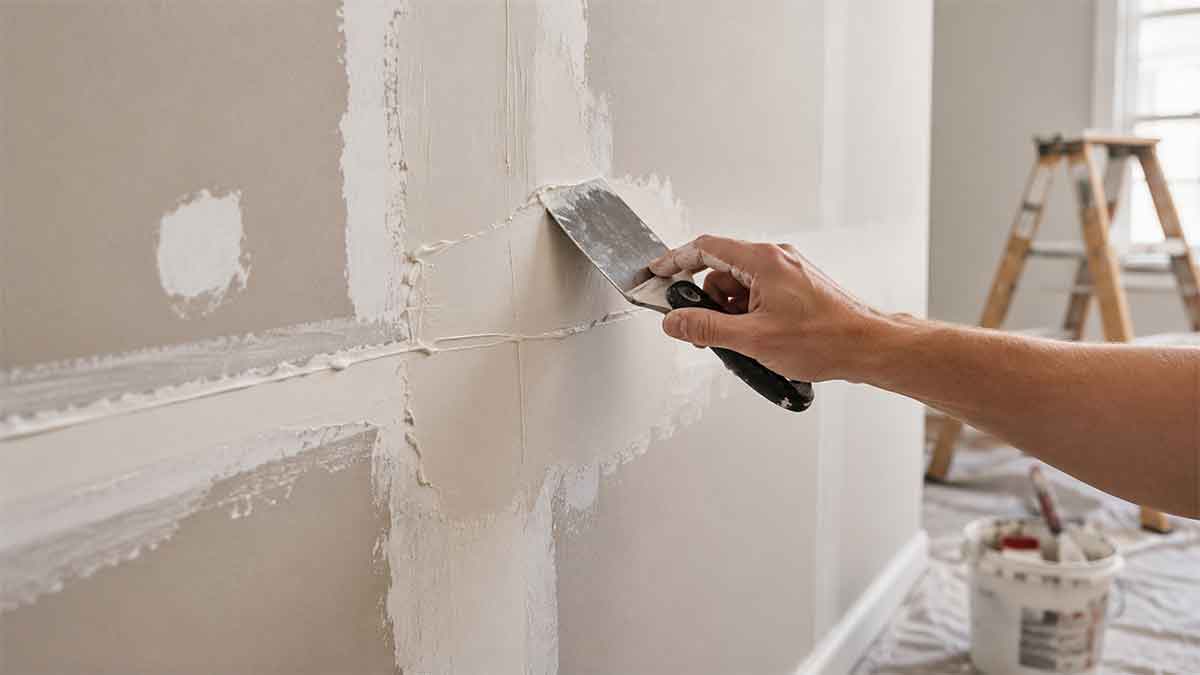
How to Fix a Bad Mud Job on Painted Drywall Without Starting Over – A bad mud job on painted drywall usually doesn’t mean you have to tear the wall apart and begin again. In most cases, you can repair the surface by sanding the problem areas, applying fresh joint compound in thin layers, and repainting correctly. The exact method depends on whether you’re dealing with ridges, visible seams, bubbling tape, cracks, or uneven texture.
Drywall finishing is one of those jobs where small mistakes become very noticeable after paint goes on. Fortunately, most cosmetic issues are repairable with the right tools and a little patience.
What Is a Bad Mud Job on Painted Drywall?
A bad mud job refers to drywall joint compound that wasn’t applied, feathered, or sanded properly before painting. Paint often makes these flaws stand out because light reflects differently on uneven surfaces.
Common signs include:
- Visible drywall seams
- Raised ridges
- Uneven patches
- Air bubbles
- Sanding scratches
- Cracked joints
- Exposed drywall tape
- Rough or lumpy texture
The repair method depends on what’s causing the problem. Some flaws only require a skim coat, while others need damaged tape removed and replaced.
How to Fix a Bad Mud Job on Painted Drywall
Inspect the Wall First
Before grabbing sandpaper, examine the wall closely.
Use a flashlight held at a shallow angle across the surface. This trick highlights imperfections that normal room lighting often hides.
Mark problem spots with a pencil so you don’t lose track of them while working.
Pay attention to:
- Raised seams
- Low spots
- Loose tape
- Cracks
- Blisters
- Paint defects
Sand Down High Spots
If the mud stands proud of the surrounding wall, sanding is your first step.
Start with 120-grit sandpaper for heavier ridges, then finish with 150- or 220-grit for a smoother surface.
Avoid sanding aggressively over drywall tape. If you wear through the tape, you’ll need to replace it rather than simply adding more mud.
A sanding sponge works well around corners and smaller repairs.
Remove Loose Material
New joint compound needs a solid surface to bond properly.
Use a putty knife to scrape away:
- Loose drywall mud
- Flaking paint
- Cracked compound
- Peeling tape
Don’t try to cover weak material with fresh mud. It usually fails later.
Clean the Surface
Dust left behind from sanding can prevent good adhesion.
Vacuum the wall or wipe it with a slightly damp microfiber cloth.
Allow the surface to dry completely before applying more compound.
Prime Glossy Paint When Needed
Fresh drywall mud sticks best to dull surfaces.
If the painted wall has a glossy or semi-gloss finish, lightly sand it first.
A bonding primer can also improve adhesion if the paint is especially smooth.
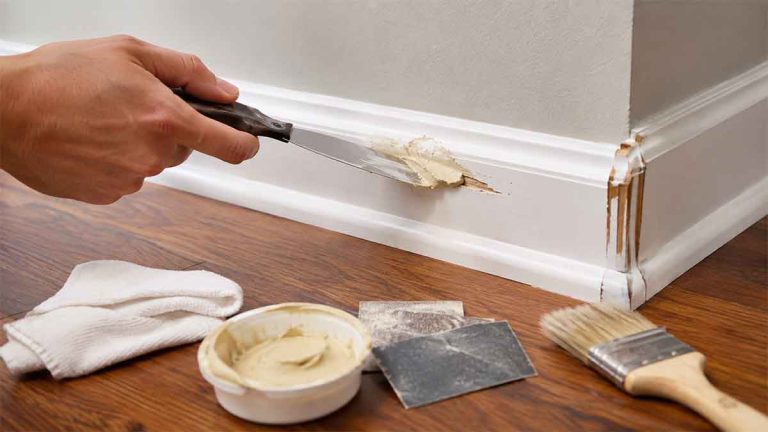
Apply Thin Coats of Joint Compound
Use all-purpose or lightweight joint compound for most repairs.
Instead of filling everything in one pass, apply several thin coats.
Each layer should be feathered wider than the previous one so the repair blends naturally into the surrounding wall.
Let every coat dry completely before sanding or adding another.
Thin coats shrink less and produce a flatter finish.
Feather the Edges
Feathering is what separates an invisible repair from one that catches your eye every time you walk into the room.
Rather than stopping exactly at the damaged area, extend the compound several inches beyond it.
A wider drywall knife—typically 10 or 12 inches—makes this much easier on larger patches.
Sand Between Coats
Light sanding between coats removes tool marks and keeps the repair flat.
Use gentle pressure.
Your hand is often a better guide than your eyes. If the wall feels smooth, it will usually look smooth after painting.
Prime Before Painting
Fresh joint compound absorbs paint differently than painted drywall.
Without primer, repaired spots often flash through the finish because they absorb more paint.
Apply a drywall primer over the repaired area before the final paint coats.
This helps create a consistent color and sheen.
Fixing Common Drywall Mud Problems
Different defects call for slightly different repairs.
Visible Drywall Seams
If the tape is still firmly attached, apply one or two additional skim coats over a wider area to hide the joint.
If the tape has bubbled or lifted, remove the damaged section before installing new tape.
For a complete walkthrough, read how to fix drywall tape bubbles.
Air Bubbles in Joint Compound
Small bubbles usually happen when mud is applied over dust or worked too much with the knife.
Sand the area lightly, then skim over it with fresh compound.
After it dries, sand again until smooth.
Cracks Along Drywall Joints
Hairline cracks often return if you simply fill them with mud.
Instead:
- Open the crack slightly.
- Remove loose material.
- Retape the joint if necessary.
- Apply fresh compound in multiple thin coats.
If the crack extends into your ceiling, you may also want to learn why there is a crack in my ceiling.
Uneven Texture
If the repaired area sits lower than the rest of the wall, another skim coat usually solves the problem.
If it’s too high, sand it flatter before applying additional compound.
Should You Skim Coat the Entire Wall?
Not necessarily.
A full skim coat is usually worth considering when:
- The wall has many repairs.
- Previous drywall work was poor throughout.
- Old texture was removed.
- Paint continues to highlight imperfections.
For isolated defects, repairing individual areas is usually faster and less expensive.
Can You Apply Drywall Mud Over Painted Walls?
Yes.
Joint compound bonds well to painted drywall as long as the surface is:
- Clean
- Dry
- Free of grease
- Free of loose paint
- Lightly sanded if glossy
Proper preparation is often the difference between a repair that lasts and one that eventually peels.
Common Mistakes to Avoid
Many DIY drywall repairs fail because people rush the process.
Avoid these common mistakes:
- Applying mud too thick
- Skipping sanding between coats
- Painting before the compound dries
- Forgetting primer
- Using a knife that’s too small
- Sanding into drywall tape
- Trying to finish everything in one coat
Taking extra time usually produces a much smoother repair.
When the Problem Isn’t the Mud
Sometimes the drywall compound isn’t actually the issue.
Water damage, moisture, or structural movement can create symptoms that look like a bad mud job.
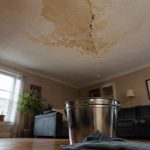
If you notice stains, damp drywall, or soft spots, fix the moisture problem before repairing the wall. Our guide on what to do if the ceiling is leaking explains what to check first.
Likewise, if only the paint is bubbling while the drywall underneath feels solid, the problem may be with the paint itself. See why is my spray paint bubbling to understand the most common causes.
Frequently Asked Questions
Can you fix drywall mud after it’s painted?
Yes. Sand the painted surface, repair defects with fresh joint compound, sand again, prime, and repaint.
Do you need to remove all the old drywall mud?
No. Remove only loose, cracked, or poorly bonded compound. Solid mud can remain and be skim coated.
Why are drywall seams still visible after painting?
The seam may not have been feathered wide enough, the mud may have shrunk during drying, or the wall wasn’t sanded smooth before painting.
How many coats of joint compound are usually needed?
Most repairs need two or three thin coats. Larger repairs may require additional skim coats.
Can you paint directly over drywall mud?
You can, but primer is strongly recommended. Without it, the repaired area often absorbs paint differently and remains visible.
Final Thoughts
Knowing how to fix a bad mud job on painted drywall is mostly about correcting the original mistakes instead of trying to hide them with more paint. Sand away high spots, remove loose material, apply several thin coats of joint compound, feather each layer carefully, and always use primer before painting.
Most bad drywall finishing jobs are completely repairable without replacing the wall. By working slowly and focusing on smooth transitions rather than thick applications, you can achieve a professional-looking finish that blends seamlessly with the rest of the room.