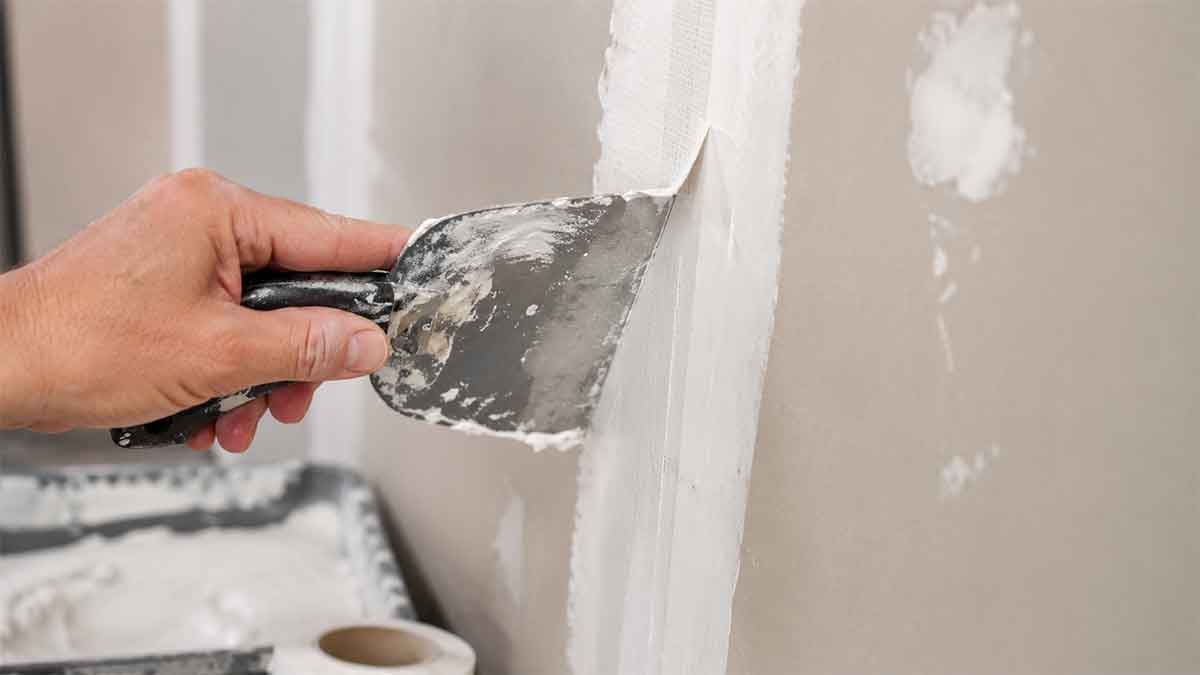
Drywall tape bubbles happen when the tape loses contact with the wall, usually because there wasn’t enough joint compound underneath or the mud dried before the tape bonded properly. The fix depends on how severe the bubble is. Small bubbles can often be cut out and patched, while larger or loose sections usually need to be retaped. Repairing them correctly prevents cracks from returning and leaves a smooth surface ready for paint.
If you’re staring at raised drywall tape after a recent repair or paint job, don’t worry. It’s a common issue, and in most cases, you can fix it yourself with basic tools and a little patience.
What Are Drywall Tape Bubbles?
Drywall tape bubbles are raised areas where the drywall tape separates from the joint compound or the drywall surface. Instead of lying flat, the tape lifts and creates visible air pockets or blisters.
The problem isn’t just cosmetic. If left alone, the bubble can crack, become more noticeable after painting, or continue to spread as the tape loosens over time.
Why Do Drywall Tape Bubbles Happen?
Several issues can cause drywall tape to lift.
The most common reason is too little joint compound under the tape. The compound acts as the adhesive, so if there isn’t enough, parts of the tape won’t stick.
Other common causes include:
- The joint compound started drying before the tape was embedded.
- Air became trapped beneath the tape during installation.
- Dust or debris prevented good adhesion.
- Too much compound was squeezed out while pressing the tape.
- Moisture weakened the bond over time.
- Low-quality installation during the original drywall finishing.
If the bubbling appeared after water damage, repair the moisture source before fixing the drywall. Otherwise, the problem will likely come back. If you’re dealing with water stains or wet ceilings, read what to do if the ceiling is leaking before making cosmetic repairs.
How to Tell Whether You Need a Small Repair or Full Retaping
Press gently on the bubble with your finger.
If it feels firm and only a tiny edge has lifted, you may only need a small patch.
If the tape moves, feels hollow, or makes a crackling sound when pressed, it’s usually better to remove that section and install new tape.
Also inspect the surrounding area. Multiple bubbles often indicate the original tape wasn’t installed correctly.
Tools and Materials You’ll Need
Most repairs require only a few basic supplies:
- Utility knife
- Putty knife or drywall knife
- Joint compound
- Drywall paper tape or fiberglass mesh tape
- Sanding sponge or fine-grit sandpaper
- Primer
- Matching paint
A wider drywall knife helps feather the repair so it blends into the surrounding wall.
How to Fix Drywall Tape Bubbles
Step 1: Inspect the Bubble
Look closely at the affected area.
If the bubble is very small and the surrounding tape remains tightly bonded, you may only need to remove the loose section.
If several inches of tape have lifted, replacing the entire damaged section usually produces a better result.
Step 2: Cut Away the Loose Tape
Use a sharp utility knife to cut around the bubble.
Remove all loose tape until you reach material that’s firmly attached. Don’t leave partially detached tape behind because it can continue lifting later.
Step 3: Prepare the Surface
Scrape away loose compound and smooth rough edges.
Wipe away drywall dust with a clean cloth so fresh compound can bond properly.
Step 4: Apply Fresh Joint Compound
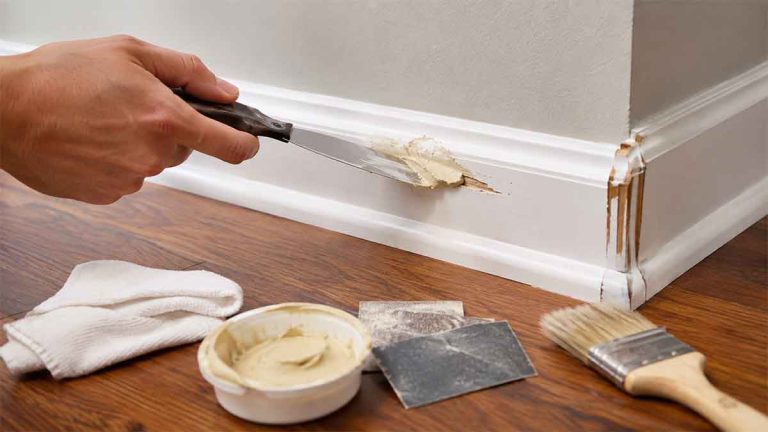
Spread a thin, even layer of joint compound over the exposed joint.
The layer should completely cover the repair area without excessive buildup.
Step 5: Install New Tape
Press new drywall tape into the wet compound.
Use a drywall knife to smooth the tape from the center outward, removing trapped air while leaving enough compound underneath to create a solid bond.
Don’t press so hard that you force all the compound out.
Step 6: Apply Additional Coats
Allow the first coat to dry completely.
Then apply two or three thin finish coats, feathering each layer wider than the previous one. Thin coats dry more evenly and reduce sanding later.
Step 7: Sand, Prime, and Paint
Once the final coat dries, sand lightly until smooth.
Always apply primer before repainting. Primer seals the fresh compound and helps the new paint blend evenly with the existing finish.
If you notice bubbling only after painting, the issue may actually be paint failure rather than drywall tape. You may find why is my spray paint bubbling helpful for diagnosing similar surface problems.
Can You Glue Drywall Tape Back Down?
Usually, no.
Construction adhesive, wood glue, or household glue won’t create a reliable drywall repair.
The proper repair is removing the loose tape and reinstalling it with fresh joint compound. While glues may temporarily hold the tape, they often leave uneven surfaces and can make future repairs more difficult.
Should You Use Paper Tape or Mesh Tape?
Both materials work well when installed correctly.
Paper tape creates strong joints and is commonly used by professional drywall finishers. It performs especially well on factory seams.
Fiberglass mesh tape is easier for beginners because it sticks in place before applying compound. However, it generally requires setting-type joint compound for maximum strength on many repairs.
For repairing isolated drywall tape bubbles, paper tape often provides the smoothest finished appearance.
How to Prevent Drywall Tape Bubbles
Good preparation prevents most bubbling problems.
Make sure the drywall surface is clean before applying compound.
Use enough compound beneath the tape to create full contact.
Embed the tape firmly but avoid squeezing out all the mud.
Apply thin finish coats instead of one thick coat.
Allow each layer to dry fully before adding the next.
Avoid repairing drywall in very humid conditions whenever possible.
When Drywall Tape Bubbles Mean a Bigger Problem
Sometimes bubbling isn’t caused by poor taping.
Look for signs that point to a larger issue:
- Water stains
- Soft drywall
- Ceiling sagging
- Mold growth
- Recurring bubbles in the same location
These symptoms may indicate an active leak or moisture problem rather than a simple finishing mistake.
If you also notice ceiling cracks, check out why is there a crack in my ceiling to help determine whether the damage is cosmetic or something more serious.
Older homes may also contain hazardous building materials. Before cutting into older ceilings or walls, read what to do if you have asbestos ceiling tiles if there’s any possibility asbestos-containing materials are present.
Common Mistakes to Avoid
Many DIY repairs fail because of a few simple mistakes.
One is applying too little compound beneath the tape. Another is rushing to paint before the compound has completely dried.
Over-sanding can also expose the tape and weaken the repair.
Finally, never ignore moisture. Repairing drywall before fixing a leak almost always leads to another failed repair.
Frequently Asked Questions
Can drywall tape bubbles disappear on their own?
No. Once the tape loses adhesion, it won’t reattach by itself. The bubble usually stays the same or gradually gets worse.
Can I paint over drywall tape bubbles?
You can, but the bubble will remain visible. Paint won’t flatten lifted tape or restore adhesion.
Do I always have to replace the tape?
Not always. Tiny bubbles with solid surrounding adhesion may only require a small patch. Larger loose areas should generally be retaped.
Why did bubbles appear after painting?
Painting doesn’t usually cause drywall tape bubbles. Instead, it often makes an existing problem easier to see. In some cases, moisture from latex paint can temporarily highlight poorly bonded tape.
How long should I wait before sanding?
Follow the drying time recommended for your joint compound. Drying depends on temperature, humidity, and the thickness of each coat.
Final Thoughts on How to Fix Drywall Tape Bubbles
Learning how to fix drywall tape bubbles isn’t difficult once you understand what caused them. The key is removing any loose tape, applying fresh joint compound correctly, and allowing each layer to dry before moving to the next step.
Take your time instead of trying to rush the repair. A properly retaped joint should stay flat for years, giving you a smooth wall that’s ready for primer and paint without the bubbles returning.
For more home maintenance guides, you may also find these articles useful:
- Learn why surfaces collect dust so quickly in Why Does My House Get So Dusty Every Day?.
- Troubleshoot noisy heating systems with Why Is My Baseboard Heater Making Noise?.
- Explore practical outdoor upgrades in How to Choose an Outdoor Garden Bench.
- Find inspiration for low-maintenance landscaping in How Does Your Zen Garden Grow?.