
How to Fix Crack in Drywall From Settling Without Making It Worse – A crack in drywall from settling is usually a cosmetic issue, not a structural emergency. The best way to fix it is to remove any loose material, apply drywall tape over the crack, cover it with joint compound, sand it smooth, then prime and repaint the area. However, if the crack keeps coming back, widens over time, or is accompanied by sticking doors or uneven floors, you may need to investigate possible structural movement before repairing the wall.
Most homes settle a little after construction. Even older houses continue to shift slightly as seasons change and soil expands or contracts. That movement often shows up as small drywall cracks around doors, windows, ceilings, or corners.
Here’s how to repair settlement cracks properly and how to know when they may point to a bigger problem.
What Causes Drywall Cracks From Settling?
Drywall itself isn’t usually the problem. The framing behind it moves slightly, causing stress on the drywall joints.
Common causes include:
- Normal house settling
- Seasonal expansion and contraction
- Wood framing drying and shrinking
- Minor foundation movement
- Temperature and humidity changes
Hairline cracks that stay the same size for years are generally considered normal. Cracks that rapidly grow or spread deserve a closer look.
How to Fix Crack in Drywall From Settling
Most settlement cracks can be repaired in an afternoon. Here’s how to fix crack in drywall from settling:
Step 1: Inspect the Crack
Before repairing anything, look closely at the crack.
A typical settlement crack is:
- Less than 1/8 inch wide
- Straight or slightly jagged
- Located along drywall seams or above doors
- Dry with no signs of water damage
If the crack is wider than 1/4 inch or continues through brick, masonry, or the foundation, repairing the drywall alone won’t solve the underlying issue.
Step 2: Remove Loose Material
Use a utility knife to carefully widen the crack just enough to remove loose drywall and old joint compound.
This creates a clean surface that helps new compound bond properly.
Brush away all dust with a dry paintbrush or vacuum.
Step 3: Apply Drywall Tape
Many people skip this step, but it’s one of the biggest reasons repairs fail.
For settlement cracks, use either:
- Paper drywall tape
- Self-adhesive fiberglass mesh tape
Tape bridges the movement and helps prevent the crack from reopening.
If you’re also dealing with loose tape elsewhere, this guide on fixing drywall tape bubbles explains how to repair failed seams before repainting.
Step 4: Apply Joint Compound
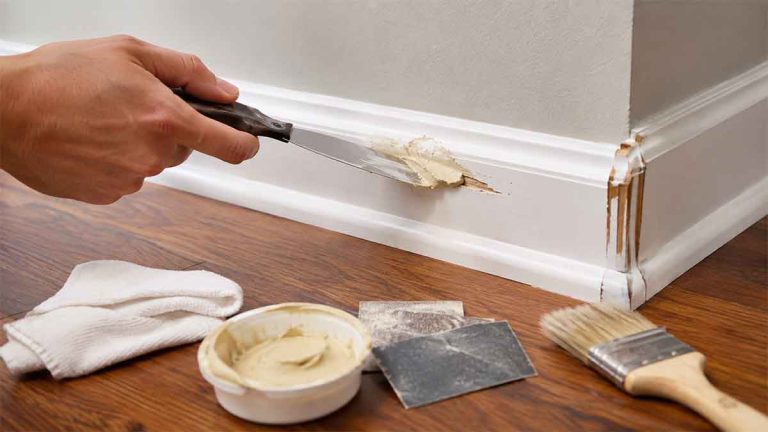
Spread a thin layer of joint compound over the taped crack using a drywall knife.
Feather the edges several inches beyond the repair so it blends into the surrounding wall.
Avoid thick layers. Thin coats dry more evenly and shrink less.
Step 5: Let It Dry Completely
Drying time depends on:
- Room temperature
- Humidity
- Thickness of the compound
Rushing this step often causes sanding problems later.
Step 6: Sand Smooth
Use fine-grit sandpaper, typically between 180 and 220 grit.
Sand gently until the repair feels flush with the surrounding wall.
Shine a flashlight across the surface to reveal any bumps or ridges.
Step 7: Apply a Second Coat if Needed
Deep cracks often require two or three thin coats.
Each layer should extend slightly wider than the previous one to create a smooth transition.
Step 8: Prime Before Painting
Fresh joint compound absorbs paint differently than finished drywall.
Always apply primer first.
Skipping primer often leaves visible patches even after multiple coats of paint.
Should You Use Caulk Instead?
For very small cracks where walls meet trim, flexible paintable caulk can work well.
However, for cracks running across drywall, joint compound with drywall tape provides a much longer-lasting repair.
Caulk tends to crack again when movement continues.
Best Materials for Repairing Settlement Cracks
You’ll typically need:
- Utility knife
- Drywall knife
- Joint compound
- Drywall tape
- Fine-grit sandpaper
- Primer
- Matching paint
Premixed lightweight joint compound is usually easier for beginners because it sands more easily than standard all-purpose compound.
Why Settlement Cracks Keep Coming Back
Sometimes a repaired crack reappears within months.
Possible reasons include:
- No drywall tape was used
- The crack wasn’t cleaned properly
- Joint compound was applied too thick
- The house is still moving
- Structural movement continues
If you’ve repaired the same crack multiple times, reinforcing it with tape usually produces better results than simply filling it again.
If you’re dealing with uneven drywall repairs after patching, you may also find this guide on fixing a bad mud job on painted drywall helpful.
When a Settlement Crack Could Be Serious
Not every crack is harmless.
Consider getting a professional evaluation if you notice:
- Cracks wider than 1/4 inch
- Horizontal foundation cracks
- Multiple new cracks appearing quickly
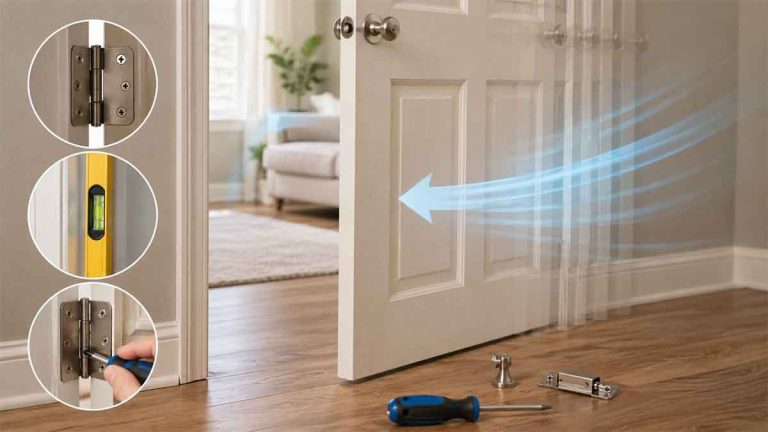
- Doors or windows suddenly sticking
- Sloping floors
- Large ceiling cracks
- Gaps between walls and ceilings
These symptoms don’t automatically mean major structural damage, but they deserve further inspection.
If the damage extends overhead, it’s also worth reading what to do if the ceiling is leaking to rule out moisture problems, and why there’s a crack in your ceiling for additional causes beyond normal settling.
Can You Paint Over a Settlement Crack?
Painting over an untreated crack rarely works.
The crack usually remains visible because paint doesn’t fill gaps effectively.
A proper repair includes:
- Cleaning the crack
- Applying tape
- Using joint compound
- Sanding
- Priming
- Painting
Skipping the repair often leads to the crack showing through within weeks.
How Long Does a Drywall Repair Last?
A properly repaired settlement crack can last for many years.
However, no repair is permanent if the house continues moving.
Homes naturally expand and contract with changing temperatures and humidity, so occasional minor touch-ups are normal.
How to Prevent Future Drywall Settlement Cracks
You can’t stop a house from settling completely, but you can reduce future cracking by:
- Keeping indoor humidity relatively stable
- Managing drainage around the foundation
- Fixing plumbing leaks promptly
- Repairing roof leaks before moisture damages framing
- Addressing foundation problems early
Large moisture changes often create more drywall movement than people realize.
Frequently Asked Questions
Are drywall settlement cracks normal?
Yes. Small hairline cracks are common in both new and older homes. Many appear above doors, around windows, or along drywall joints as the house naturally shifts.
Should I worry about vertical drywall cracks?
Not always. Vertical cracks along drywall seams are often cosmetic. They become more concerning if they grow rapidly, become very wide, or are accompanied by other signs of structural movement.
Can I repair settlement cracks without drywall tape?
You can, but the repair is much more likely to fail. Drywall tape reinforces the joint and helps prevent the crack from returning.
Is mesh tape better than paper tape?
Both can work well. Paper tape is generally stronger on flat seams, while self-adhesive mesh tape is easier for many DIY homeowners. Proper installation matters more than the tape type.
How much movement is normal in a house?
Most homes experience slight seasonal movement. Small recurring hairline cracks may simply reflect normal expansion and contraction. Significant changes over a short period should be investigated.
Final Thoughts
Knowing how to fix crack in drywall from settling starts with identifying whether the crack is cosmetic or a sign of something more serious. Most hairline settlement cracks can be repaired successfully using drywall tape, joint compound, sanding, primer, and paint. Taking the time to reinforce the repair instead of simply filling the gap gives you the best chance of preventing the crack from returning.
If the crack continues to grow, keeps reopening despite proper repairs, or appears alongside foundation or framing issues, it’s worth addressing the underlying cause before repairing the drywall again. A lasting repair depends as much on stopping excessive movement as it does on applying the right materials.